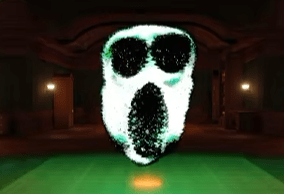
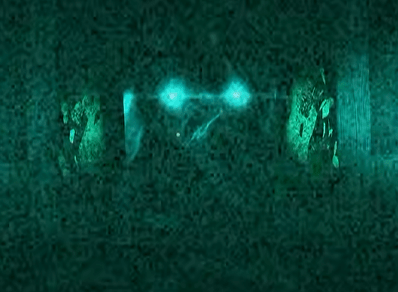
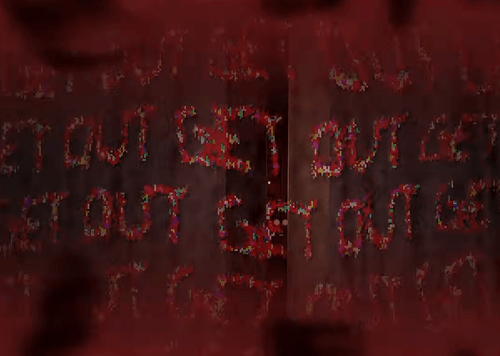
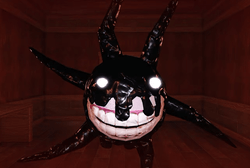
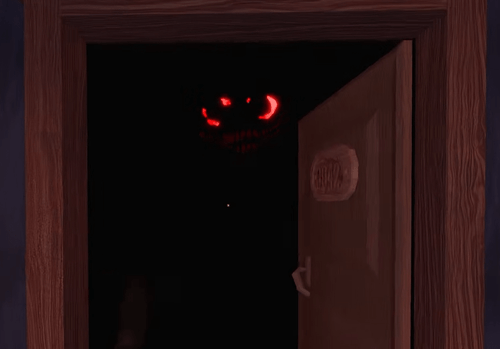
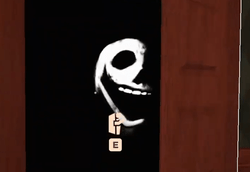
All Entities in DOORS & How to Beat Them
A codex for your survival needs!


Tell us about your article reading experience.
- No
- Sort of
- Yes
DOORS is a deceptively complex horror game that features a ton of varying hazards and entities to avoid, and more new ones are introduced with each subfloor added to the game. Every major update drops everyone into the deep end, so knowing what to expect can be a major advantage.
In this guide, we'll list down every active entity in the game starting from the newest all the way down to the Hotel's OGs (their updated versions), categorized by the levels they appear in.
The Archives
The Archives features a mix of barely lethal office-themed entities and deadly supernatural beings. Here's the full list of entities you'll encounter in The Archives:
Entity | Image | Earliest Floor | Tips |
|---|---|---|---|
Drone |
| Sector A and above | They come in varying shapes, and they won't hurt you unless you touch them. |
Fih |
| Sector A and above | Nothing. They're harmless. |
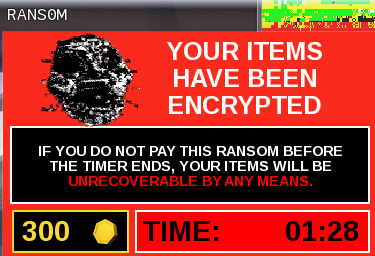
Ransom |
| Sector A and above | If Ransom attacks you, rush towards any drawers or cabinets you can open. |
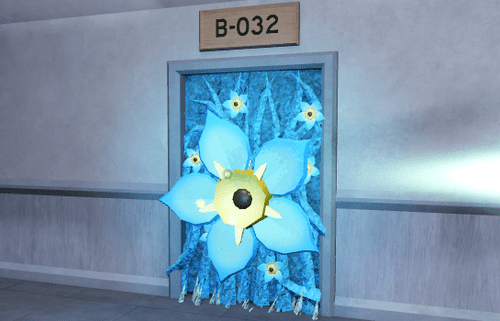
Forget-Me-Not |
| Sector B and above | Look at all six smaller flowers scattered in the room to kill the large flower. |
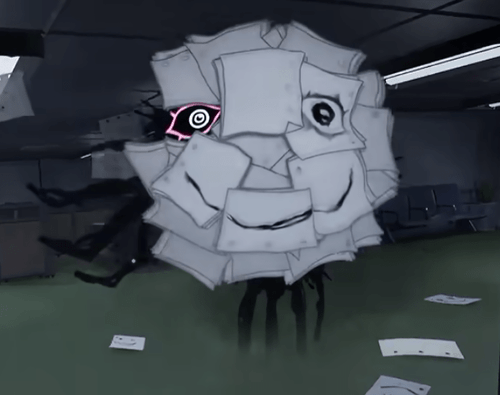
Scribbles |
| Sector B and above | Hiding behind a wall, glass window, or even crouching in a cubicle is enough to avoid damage from it. |
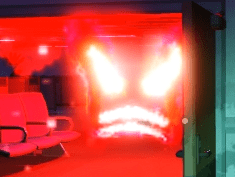
Bash |
| Sector A and above | Hide inside cubicles or cabinets when you hear a loud sound coming closer. |
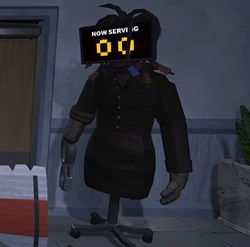
Teller |
| Sector B and above | The Teller will give you a ticket with a number on it |
Portrait |
| Sector A and above | It copies your movements, but it's harmless. You can spawn it by staring at a mirror for a long period of time. |
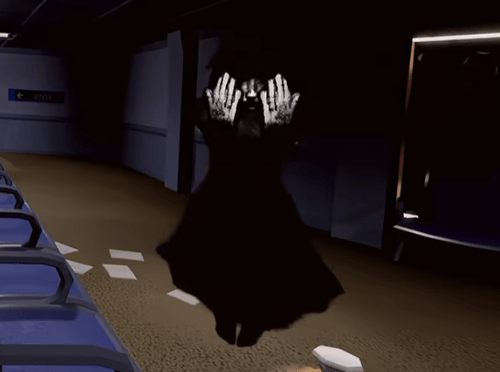
Alma |
| Sector J and above | When she appears, try your best to look away until she leaves. |
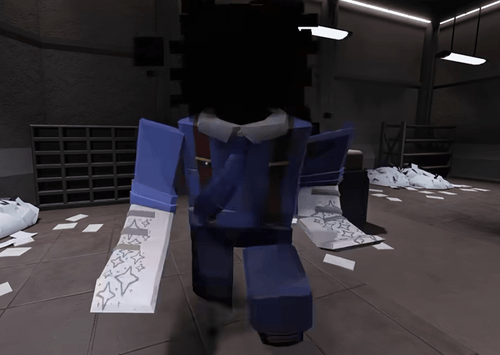
Honcho |
| End of Sector A and above | This is a special boss fight-type encounter. More info in the next section. |
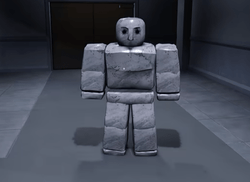
How to Beat Honcho
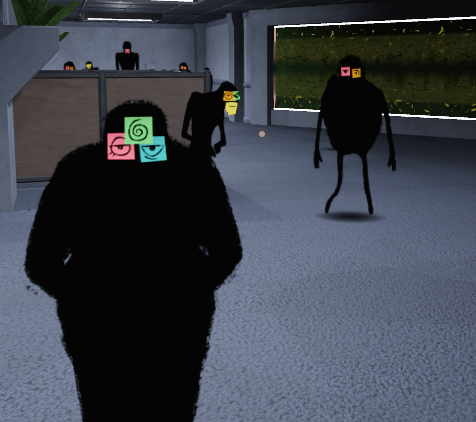
At a random moment in each run, there is a chance that the elevator at the end of a sector will take you straight to Honcho's office. When this happens, you have no choice but to proceed up into his room.
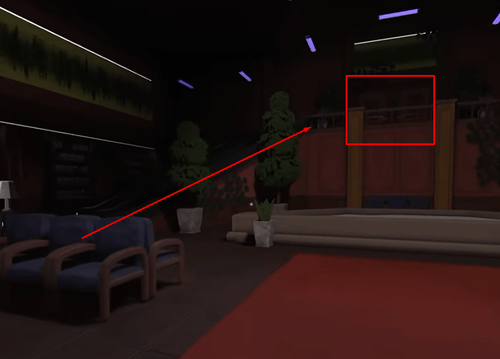
Upon approaching his desk, a cutscene will play as Honcho grabs you and plays a tutorial on what you'll do next. As soon as you are thrown into the offices below, rush to the computer and hold any mouse input.
This will lock the door, temporarily blocking Honcho and giving you time to sort boxes in peace.
You must do this with each room you clear throughout the minigame!
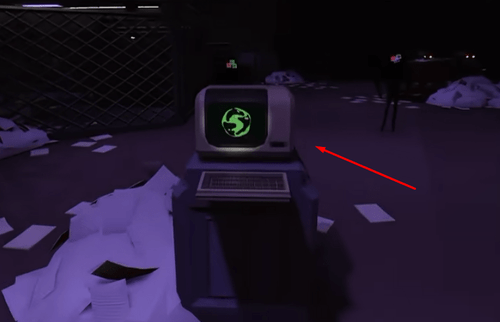
Sorting Boxes
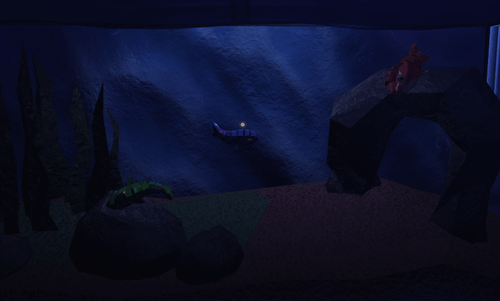
Now that Honcho's been temporarily blocked, your goal is to place labeled boxes into their respective depots, pictured here:
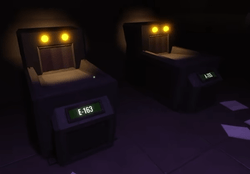
Check and remember each depot's letter and number before rushing off to look for the boxes. Here are all the obstacles you need to keep in mind while searching for and transporting boxes:
Obstacle | Image | Notes |
|---|---|---|
Turnstiles |
| You cannot pass through turnstiles while holding a box. |
Window Counter |
| Place a box here if a turnstile is blocking your way, then run around to grab it and take it to the depot. |
Conveyer Belts |
| Place boxes here, then grab them in the floor above, which will have a separate turnstile and counter. |
Drones |
| Standard drones from the other rooms in The Archives. Just avoid them. |
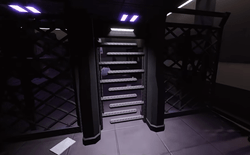
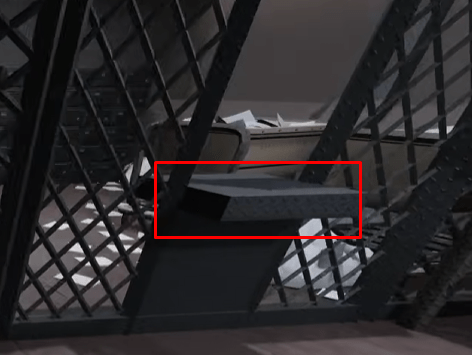
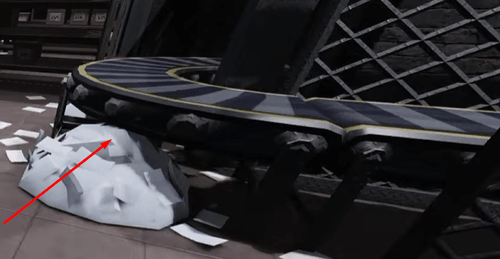
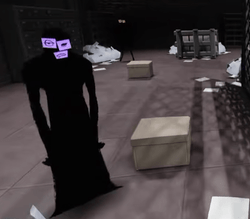
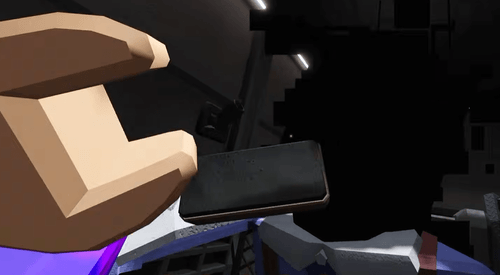
Repeat this loop of locking out Honcho and delivering boxes until you run out of rooms to clear. If you were successful all throughout, you'll get grabbed by Honcho before you can reach the exit, but he'll merely give you a stamp of approval.
You are then free to continue with the rest of your run.
The Stairwell
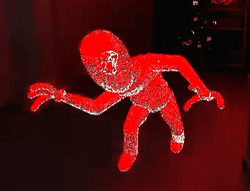
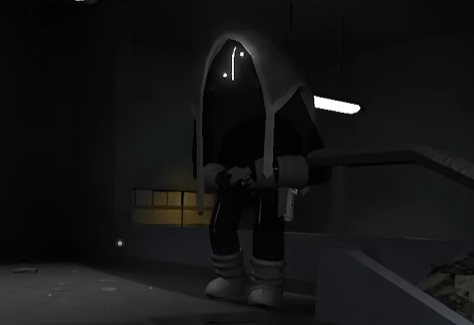
The Stairwell features a few but dangerous exclusive entities, and the full list includes the following:
Entity | Image | Tips |
|---|---|---|
Meld |
| Harmless on its own, but exists to slow you down. You must find the fire alarm to burn it and progress further. |
Creak |
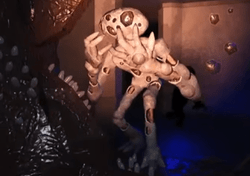
| Look at it and/or shine a light at its face to make it back off. |
Stem |
| Comes in different colors and appears in loot sources. |
Noise |
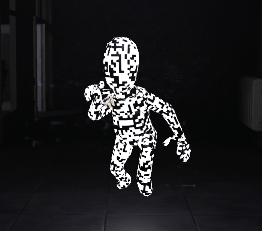
| It will pause whenever you stop moving, giving you time to plan your next steps. |
Hijack |
| Requires you to insert a disc acquired from S-050 in The Archives into Noise's TV. |
Cobbler |
| Nothing, he's friendly. You can trade scrap with him, buy his items, etc. |
The Outdoors
The Outdoors features an entirely unique set of entities that have varying degrees of lethality, as most hostiles have a conditional instant kill mechanic. Here's the full list of entities you'll encounter there:
Entity | Image | Tips |
|---|---|---|
Mandrake |
| Simply attach it back to the hole it came from to stop it. |
Surge |
| Surge's arrival is marked by greenish yellow lightning flashes in the sky. |
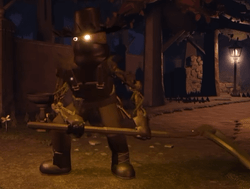
Groundskeeper |
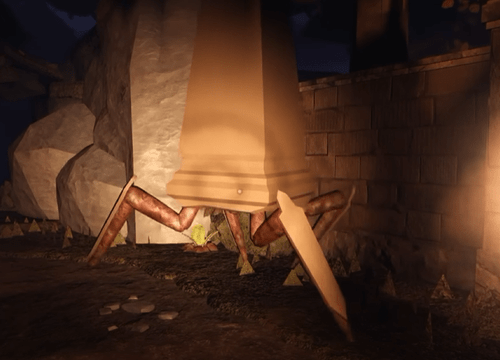
| It's not inherently hostile and will even help you sometimes. |
Monument |
| It takes the shape of a regular obelisk you'll find all around the Outdoors. |
Eyestalk |
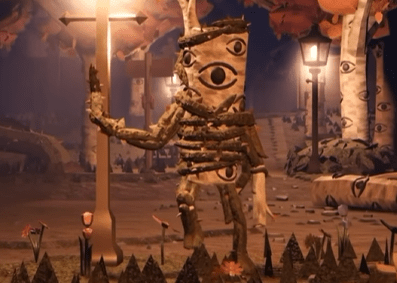
| Once it activates, start running away and avoid any snares on the ground. |
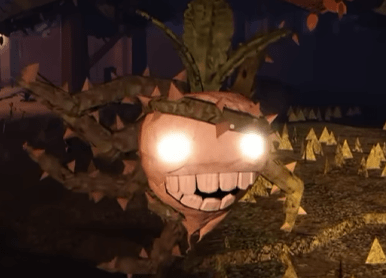
Bramble |
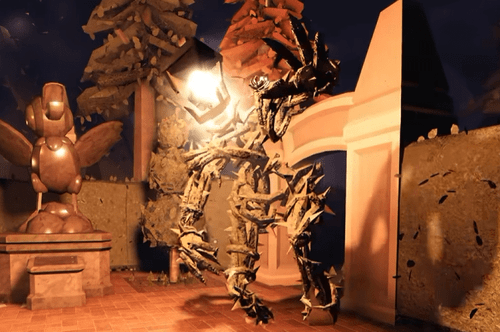
| Bramble roams the area and can't be eliminated. |
Grampy |
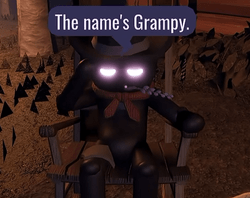
| No tips. He won't hurt you. |

The Backdoors
The Backdoors has a small list of unique entities that you'll only find in this game mode. Here's all of them:
Entity | Image | Tips |
|---|---|---|
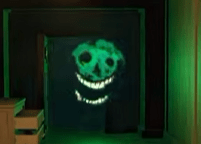
Haste |
| You must pull a lever ASAP to get more time. Otherwise, your death is inevitable. |
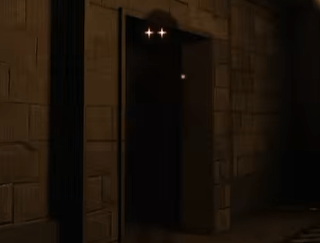
Blitz |
| Hide in a closet to prevent damage. |
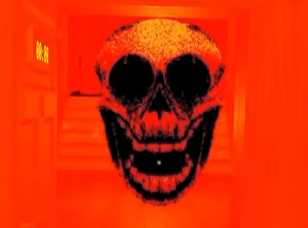
Lookman |
| Avoid eye contact to prevent damage. Simply looking down will suffice. |
The Hotel/Mines
Many of the entities that appear in the Hotel also show up in the Mines, so we'll cover the exclusive ones for the Mines first.
Mines Exclusive Entities
These entities only show up in the Mines under normal circumstances:
Entity | Image | Tips |
|---|---|---|
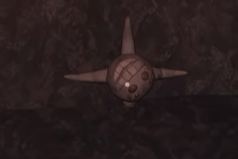
Gloombats |
| They won't attack you unless you provoke them by holding a light source. |
Giggle |
| Listen for their high-pitched laughs and watch the ceiling. |
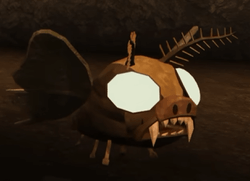
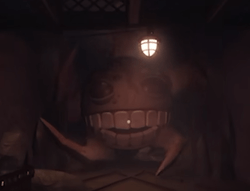
Grumble |
| They cannot reach small rooms on the sides of the main hallways. |
Hotel & Mines Entities
These entities are present throughout the Hotel and some can also appear in the Mines:
Entity | Image | Tips |
|---|---|---|
Rush |
| Hide in a closet once you hear a loud rumbling noise, especially if you already see it coming and it's screeching loudly. |
Ambush |
| Similar to rush, but with a lower-pitched sound effect. |
Halt |
| Halt will force you to turn around with a prompt on your screen. |
Hide |
| Once your screen starts filling up with red and text that says "GET OUT" appears, leave your hiding spot. |
Eyes |
| Once you start noticing a blue glow in the room, look down and avoid looking at the eyes at all costs to avoid death. |
Screech |
| As soon as you hear a loud "Psst!" sound, look for Screech and stare at it until it goes away. |
Dupe |
| Pay close attention to the room numbers at all times. |
Jack |
| Nothing. He just exists to scare you on very rare occasions. |
Timothy |
| It has a small chance of attacking you when opening any loot source. |
Dread |
| Don't linger in a room for too long. |
Snare |
| Only spawns in certain parts of the Hotel, especially the Greenhouse. |
Void | N/A (Your screen just flashes) | Just don't fall far behind. All it does is teleport you back to the group if playing with one and deal a bit of damage. |
Sally |
| When she spawns, she'll chase you down and steal items while damaging you. |
Weirdo |
| Same as Jack. It only exists to scare you when opening doors (extremely rare chance). |
Figure |
| Technically, Figure is blind but has incredibly strong hearing. |
Seek |
| When Seek spawns, run for your life and just keep going through doors until you're in the clear. |