The Deep in Fisch - Everything You Need to Know (How to Enter, Quests, Etc.)
Ready to dive into The Deep?

Tell us about your article reading experience.
- No
- Sort of
- Yes

The release of The Deep update in Fisch marks the introduction of a new underwater zone of the same name, and it's pretty complex if you have no idea where to go and what to do.
To help you navigate to and in The Deep, this guide will help you uncover its secrets and show you how to work towards all the new stuff!
Before you begin, you will need Diving Gear and Flippers. It's also highly recommended to have a Tidebreaker, which can be bought at the Desolate Deep for $40,000.
How to Enter The Deep
Starting from Moosewood, spawn your boat and sail straight North, all the way past Castaway Cliffs. With the latest update, you should see "The Deep" labeled on your screen as you get closer.
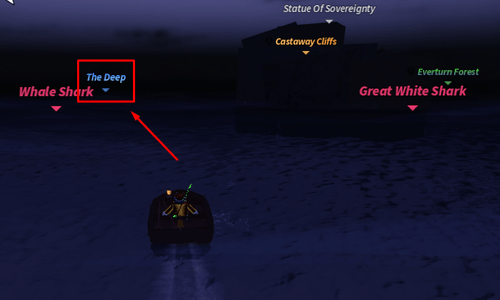
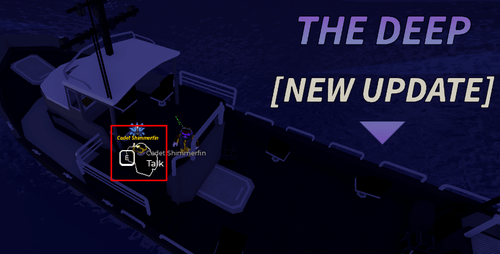
Eventually, you'll find an isolated boat labeled "The Deep". Speak with the NPC named Cadet Shimmerfin to begin the relevant quest chain and receive an inactive Deep Survey Device.
This part is IMPORTANT. Without the device, you'll have a hard time doing anything in The Deep.
Diving Into the Water
After accepting the quest from Cadet Shimmerfin and receiving the device that he'll offer you, dive straight down into the water under the boat with your Tidebreaker on hand.
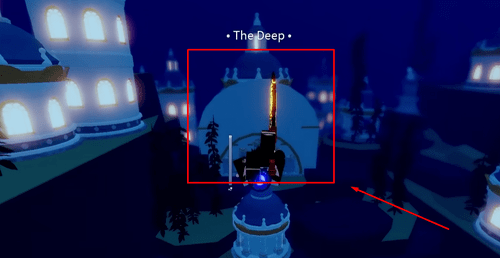
Eventually, you'll see an underwater city. Head towards the central building, which has a large white dome-shaped base.
This will have an important quest NPC (Nereus), and it will be used as a point of reference for the rest of the guide. For the next few sections, we'll be calling this the "main building".
Return to Nereus' location after each quest unless stated otherwise! This will make it easier for us to give you directions.
How to Complete The Deep's Main Quest
Speak with Nereus to start The Deep's main questline. After exhausting his dialogue, he will give you the Deep Survey Device Mk I accessory.
Equip it in your inventory ASAP so that you can survive in The Deep without having to worry about oxygen or slow movement.
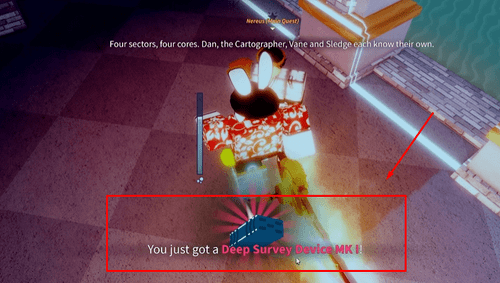
From here on out, you'll have to complete a few quests from other NPCs to continue with the rest of the questline. Basically, you'll have to activate four beacons, which are the pillars that are glowing blue all around The Deep.
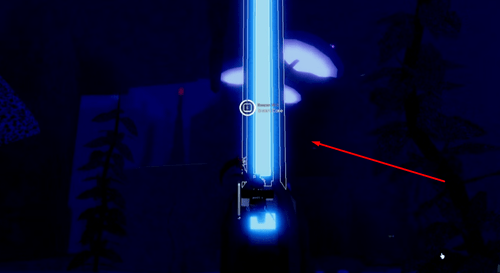
NOTE: For the next few quests, the materials you need to obtain are dropped randomly while catching fish in The Deep. We'll give you a list of which fish drops what as we go through each quest's objectives.
Side Quest #1 - Restoring 1P-1
From the main building, travel straight to the east. Once you reach the "Outer Deep" zone, you should see Beacon 1P, along with an NPC named Hunter Dan.
Speak with Hunter Dan to start the quest "Restoring 1P-1". To complete it, you'll have to do the following:
- Obtain 10 Bone Shards
- Obtain 5 Prism Scales
- Obtain 1 Abyssal Bio-Fluid
- Install the Hydro-Core in Sector 1P-1
Here is a cheat sheet with a list of fish that drop the needed ingredients:
Ingredient | Best Fish To Catch | Best Location to Farm |
|---|---|---|
Bone Shards | Pacific Sleeper Shark, Atlantic Dragonfish, Bluntnose Sixgill Shark, Greenland Shark | Gloomy Crevice |
Prism Scales | Formosa Seabass, Papillated Redbait, Abadhah Cromis | Outer Deep |
Abyssal Bio-Fluid | Luminous Hake, Pacific Footballfish, Greater Silver Hatchetfish | Lower Deep or Gloomy Crevice |
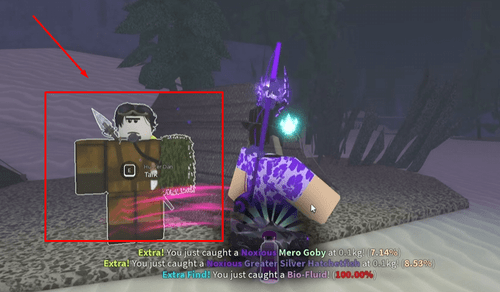
After getting all of the ingredients needed, speak with Hunter Dan again to receive the Hydro-Core. To install it, swim up to the blue pillar behind him, then interact with it to insert the Hydro-Core.
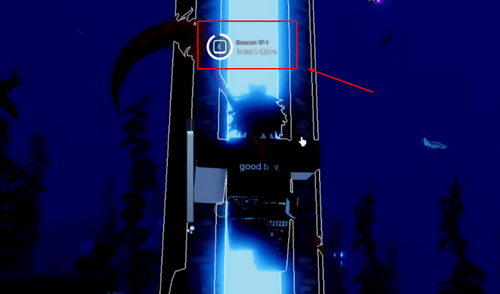
Upon installation, the beacon's glow should change from blue to orange. You're now done with this sector and can move on to the next one!
Side Quest #2 - Restoring 1P-2
Starting from the main building, swim to the northwest. Eventually, you'll spot the next beacon sitting next to a bubble covering a few buildings. This is sector 1P-2, so proceed straight into the bubble.
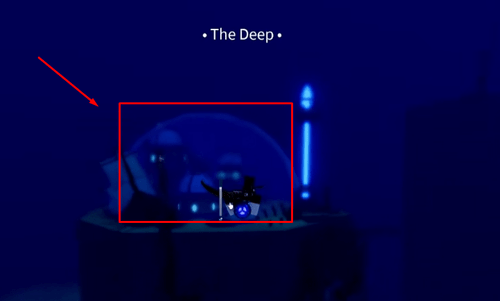
Once inside, speak with the Cartographer NPC, who has a green snorkel equipped. This will start the quest "Restoring 1P-2", which requires you to do the following:
- Obtain 15 Prism Scales
- Obtain 10 Bio-Fluid (not to be confused with Abyssal Bio-Fluid)
- Obtain 1 Ancient Bone
- Install the Abyssal Lens in Sector 1P-2
Here's the cheat sheet for this quest:
Ingredient | Best Fish To Catch | Best Location to Farm |
|---|---|---|
Prism Scales | Formosa Seabass, Papillated Redbait, Abadhah Cromis | Outer Deep |
Bio-Fluid | Luminous Hake, Greater Silver Hatchetfish, Pacific Footballfish, Humpback Anglerfish, Deep-sea Anglerfish | Lower Deep or Gloomy Crevice |
Ancient Bone | Pacific Sleeper Shark, Bluntnose Sixgill Shark, Greenland Shark, Atlantic Dragonfish | Gloomy Crevice |
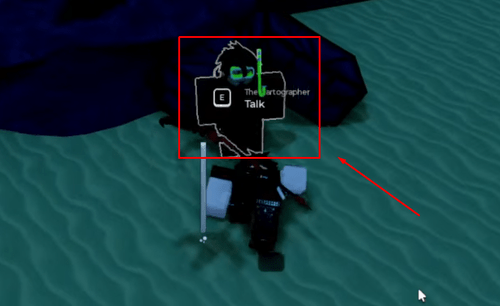
Once all of the required materials have been obtained, return to the Cartographer to receive the Abyssal Lens. Swim to Beacon 1P-2 right outside the bubble, then interact with it to insert the Abyssal Lens and turn the pillar orange.
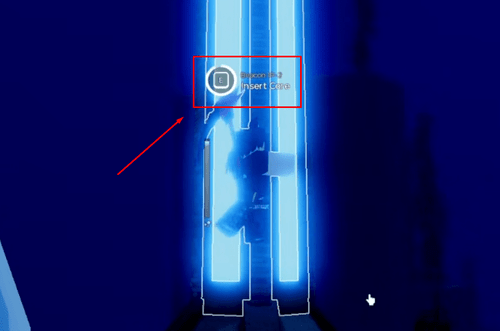
Side Quest #3 - Restoring 1P-3
Starting from the main building, swim to the northeast while staying pretty low. You'll find the next blue beacon in a cave, right next to a building and some mushroom-like growths.
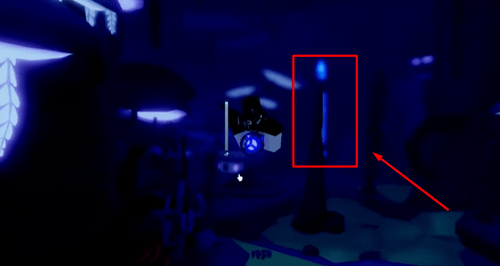
Ignore the beacon for now and keep swimming to the east, deeper into the cave. Continue until you reach a small opening at the bottom, then go inside.
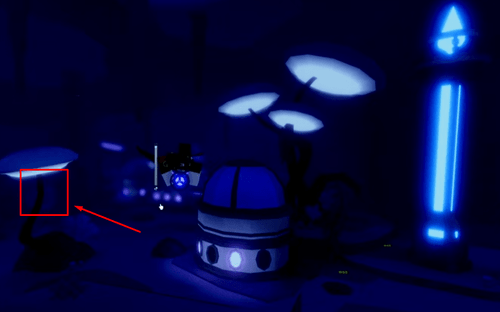
Inside, you'll find an NPC named Dr. Vane to the right of the entrance. Speak with him to start "Restoring 1P-3", which will have you do the following:
- Obtain 20 Bone Shards
- Obtain 15 Salvage Scraps
- Obtain 1 Radiant Prism Scale
- Install the Bioluminescent Battery in Sector 1P-3
Once more, here's the cheat sheet for these ingredients:
Ingredient | Best Fish To Catch | Best Location to Farm |
|---|---|---|
Bone Shard | Pacific Sleeper Shark, Atlantic Dragonfish, Bluntnose Sixgill Shark, Greenland Shark | Gloomy Crevice |
Salvage Scrap | Crushed Diving Helmet, Broken Flashlight, Bent Harpoon | Gloomy Crevice (Use a harpoon) |
Radiant Prism Scale | Formosa Seabass, Abadhah Cromis, Papillated Redbait | Outer Deep |
For Salvage Scrap, you aren't catching any fish. You have to use a harpoon to grab all the junk lying around in the Gloomy Crevice.
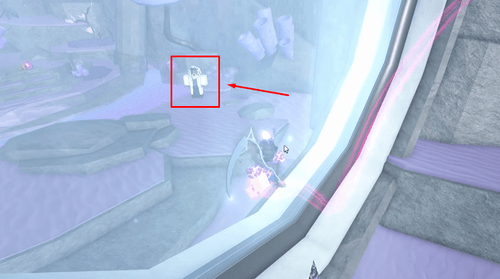
Once you've gathered all the necessary items, speak with Dr. Vane again to receive a Bioluminescent Battery. Head back to the beacon outside Vane's cave and interact with it to insert the battery and finish this side quest.
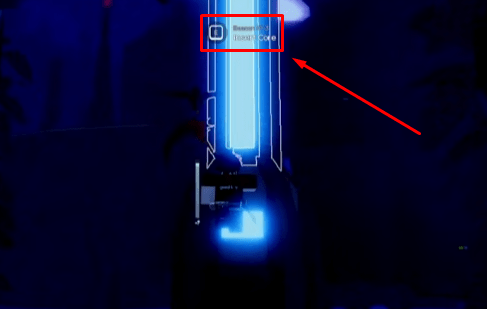
Side Quest #4 - Restoring 1P-4
Finally, from the main building, swim to the back of the building and head straight west, slightly pointing downwards as you leave the structure. You'll eventually find another beacon right at the edge of a cliff.
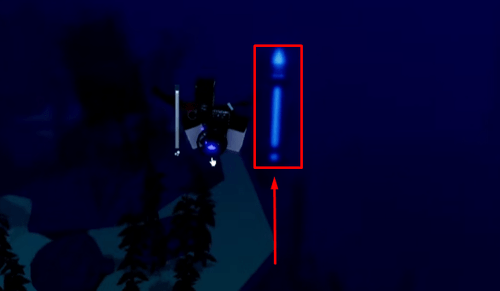
Near this beacon, you'll find an NPC named Sledge right beside a shipwreck. Speak with him to start "Restoring 1P-4", which involves the following tasks:
- Obtain 25 Chitin Plates
- Obtain 20 Salvage Scraps
- Obtain 1 Refined Scrap
- Obtain 1 Hardened Chitin
- Install the Reinforced Housing in Sector 1P-4
Here's the cheat sheet for this quest's ingredients:
Ingredient | Best Fish To Catch | Best Location to Farm |
|---|---|---|
Chitin Plate | Yeti Crab, Mantis Shrimp, Pistol Shrimp | Outer Deep |
Salvage Scrap | Crushed Diving Helmet, Broken Flashlight, Bent Harpoon | Gloomy Crevice (Use a harpoon) |
Refined Scrap | Crushed Diving Helmet, Broken Flashlight, Bent Harpoon | Gloomy Crevice (Use a harpoon) |
Hardened Chitin | Yeti Crab, Mantis Shrimp, Pistol Shrimp | Outer Deep or Gloomy Crevice |
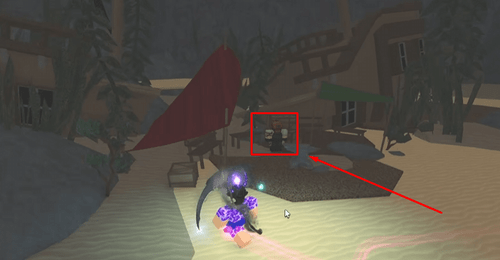
Once you have all the ingredients needed, return to Sledge to receive the Reinforced Housing. Insert it into the beacon nearby to complete this part of the quest chain.
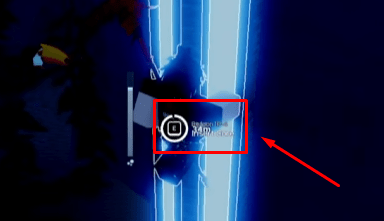
Turning on the Master Pillar - The Master Relay
Once all four side quest pillars have been activated, return to Nereus and speak with him to receive one more quest, which is "The Master Relay". For this, you'll need the following:
- Obtain 15 Prism Scales
- Obtain 15 Bone Shards
- Obtain 15 Bio-Fluid
- Obtain 15 Chitin Plate
- Obtain 15 Salvage Scrap
- Obtain 3 Radiant Prism Scale
- Obtain 3 Abyssal Bio-Fluid
- Obtain 3 Hardened Chitin
- Obtain 3 Refined Scrap
- Obtain 3 Ancient Bone
These are all materials that you've already gathered earlier. Here's a brief cheat sheet listing the best locations to farm them quickly as a refresher:
Ingredient | Best Location to Farm |
|---|---|
Prism Scale | Outer Deep |
Bone Shard | Gloomy Crevice |
Bio-Fluid | Lower Deep |
Chitin Plate | Outer Deep |
Salvage Scrap | Gloomy Crevice |
Radiant Prism Scale | Outer Deep |
Abyssal Bio-Fluid | Lower Deep |
Hardened Chitin | Outer Deep |
Refined Scrap | Gloomy Crevice |
Ancient Bone | Gloomy Crevice |
Once you have all of the necessary items, turn them in to Nereus and then proceed to the main beacon to the north/northwest. You'll find this beacon on top of a cliff, and it's held down by giant chains:
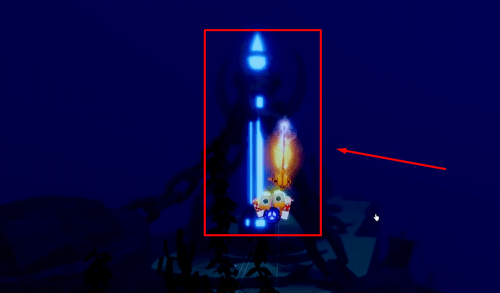
Upon completion of this quest, you'll receive the Deep Survey Device MK II, and the main quest for The Deep should now be over.
You're now free to continue exploring the rest of the zone and do all of the side quests from the other NPCs scattered throughout the area!