All Items in DOORS & What They Do
Know what to loot and you may just escape with your life!


Pick an answer, then tell us anything we missed or could do better.
- No
- Sort of
- Yes
Items in DOORS can make or break a run. A lot of them can help keep you alive, or even open up new ways to escape or horrifying floors to explore. It's a lot to take in as a new player, and even experienced runners need a guiding hand.
To help you out, we've listed down every single item in DOORS as well as a brief summary of what they are for and where to find them.
Each list below is categorized by the type of item they are. For example, the first list contains all of the food items/edibles.
All Items in DOORS
Every Food/Edible Items
Item | Description | How to Get | Image |
|---|---|---|---|
Aloe | Heals a total of 100 HP over three seconds. | Low chance to be found in The Outdoors, both in and out of containers. |
|
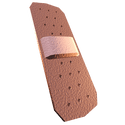
Bandage | Heals 15 HP. | Found in random containers in nearly every floor of the game. |
|
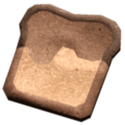
Bread | Heals 45 HP. | Acquired by trading with Louie (or using a Crucifix on him). |
|
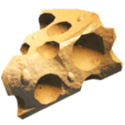
Cheese | Heals 45 HP. | Acquired by trading with Louie (or using a Crucifix on him). Also occasionally spawns in The Outdoors. |
|
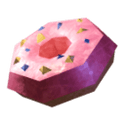
Donut | Heals 80 HP. | Can only be acquired in the Cafe, which is a Mid-Run Rift room of The Hotel. (Requires a Skeleton Key). |
|
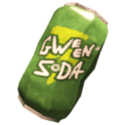
Gween Soda | Heals 100 HP over 30+ seconds. Also grants a decaying speed boost. | Can only be acquired by trading or banishing Louie. |
|
Moonlight Float | Heals 100 HP, make the user glow with blue light for a minute, and highlights all significant items and even entities. | Requires you to put a Smoothie into a Rift. This will turn it into a Moonlight Float. |
|
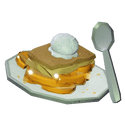
Peach Cobbler | Heals for 100 HP over time and grants a temporary speed boost. | Can be bought from the Cobbler for 250 gold. |
|
Pizza | Heals for 15 HP. | Randomly found in The Archives. |
|
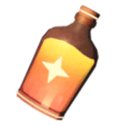
Starlight Bottle | Heals for 50 HP and grants a temporary speed boost. Also causes the user to glow with yellow light. | Can be bought at the last room of The Backdoor for 100 gold. |
|
Starlight Jug | Heals 100 HP and can overheal. It also gives you a brief speed boost and causes you to glow with yellow light. | Can be bought from the Cobbler for 750 gold. |
|
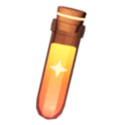
Starlight Vial | Heals 25 HP and can overheal. It also grants a brief speed boost and causes the user to glow with yellow light. | Can be found randomly in The Backdoor. |
|
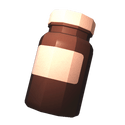
Vitamins | Gives you a brief speed boost and heals 15 HP. | Low chance to find through random containers. Can be bought from the Pre-Run Shop, Jeff's Shop, or by bartering with Louie. |
|
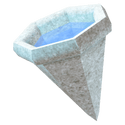
Water Cup | Can either damage or heal you depending on the water's temperature. Mix hot and cold to make it a healing item. | Found in water filling stations throughout The Archives. |
|



Every Light Source
Item | Description | How to Get | Image |
|---|---|---|---|
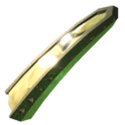
Bulklight | A powerful light source that can be used to slow down Grumbles (including the Queen). Has roughly 4 minutes of power. | Found randomly in The Mines or bought from either the Pre-Run Shop and Jeff. |
|
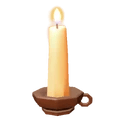
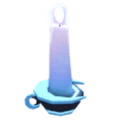
Candle | A basic light source that must be lit first. | Spawns all around The Hotel or obtained by bartering with Louie. |
|
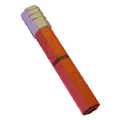
Flare | A temporary light source that will run out after around 30 seconds. | Found randomly throughout The Stairwell. |
|
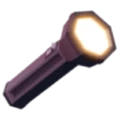
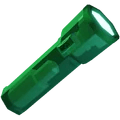
Flashlight | A light source that can be recharged with batteries. | Can be found randomly in containers or bought from the Pre-Run Shop and Jeff's Shop. |
|
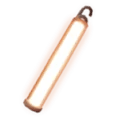
Glowstick | A thrown light source that comes in various colors. Cannot be picked back up once used. | Randomly found throughout The Mines. |
|
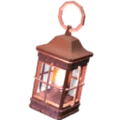
Lantern | Functions similarly to the Lighter, but with better radius and a longer duration. | Found randomly throughout The Backdoors and right before the Eyestalk encounter. |
|
Laser Pointer | Can be used to point at things you want to show your teammates. It can stun Giggles. | Found randomly throughout The Mines and The Archives. |
|
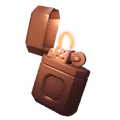
Lighter | A light source with a limited fuel source. It can also be used to light Candles. | Randomly found in containers. Can also be bought at the Pre-Run Shop or from Jeff. |
|
Moonlight Candle | It extinguishes itself when hostile entities are coming, then re-lighting automatically after they're gone. | Made by inserting a Candle into a Rift. |
|
Shakelight | A flashlight that can be recharged by simply clicking M1. | Bought from vending machines all around The Archives. |
|
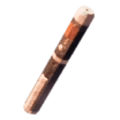
Straplight | A light source that lets you hold another item simultaneously. | Can be bought in the Pre-Run Shop or Jeff's Shop. |
|


All Utility Items
Item | Description | How to Get | Image |
|---|---|---|---|
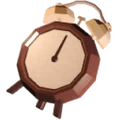
Alarm Clock | Mainly used to distract the Figure. Tells the time as well. | Found randomly in containers and guaranteed to spawn before Door 50 of The Hotel. |
|
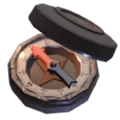
Compass | Points the holder towards the correct path. | Found randomly in containers or can be bought in the Pre-Run Shop. |
|
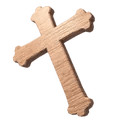
Crucifix | Used to banish hostile entities. If used against bosses, it will merely stun and/or slow them down. | Can be found in random containers or bought at Jeff's Shop. |
|
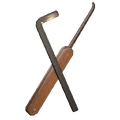
Lockpick | Can help you unlock doors and chests. Can also be used as a generator fuse, which gives the "Improvise" badge. | Found randomly in containers or bought at the Pre-Run Shop or Jeff's Shop. |
|
Lotus | Can resurrect a dead player if planted in the same room. | Acquired by giving Grampy 8 Lotus Petals. (The Outdoors only) |
|
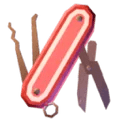
Multitool | Functions the same as the lockpick and the shears. | Can be bought from Jeff's Shop or given by Louie. |
|
Paper Plane | Can be thrown to trigger various objects in the world or even move certain entities, like Drones and Giggles. | Found all throughout The Archives and The Stairwell. |
|
Pocket Mirror | Summons the Portrait entity when thrown on the ground. | Obtained by destroying Portrait, which is done by trying to duplicate a Crucifix from it. |
|
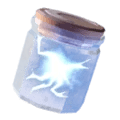
Rift Jar | When thrown, it creates a Rift in the impact zone. | Made by placing a Tip Jar into a Rift. Also has a chance to drop from Louie after banishing him with a Crucifix. |
|
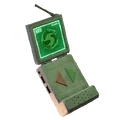
Scanner | By default, it pings important objects nearby. There are varying modules you can attach to it for other purposes. | Can be bought from the Cobbler for 500 gold. |
|
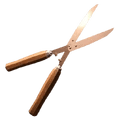
Shears | Can cut vines that are blocking chests or doors. Limited to 5 uses each. | Found randomly throughout The Hotel, The Mines, and The Outdoors. |
|



Scanner Modules
These are modules that can be used with the Scanner, with each having a wildly different purpose:
Module | Description | How to Get | Image |
|---|---|---|---|
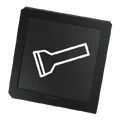
Flashlight | Turns the Scanner into a flashlight. | Bought from the Cobbler or found throughout The Stairwell (low chance). |
|
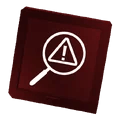
Threat Detector | Highlights nearby hostile entities. | Bought from the Cobbler or found throughout The Stairwell (low chance). |
|
Translator | Allows you to understand the Cobbler. | Bought from the Cobbler or found throughout The Stairwell (low chance). |
|
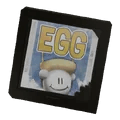
EGG | Includes a playable minigame that can grant you a badge. | Trading a module with Louie in The Mines. |
|

Container Items
Item | Description | How to Get | Image |
|---|---|---|---|
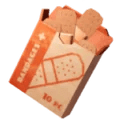
Bandage Pack | Allows you to store up to 10 bandages | Can be bought from Jeff's Shop |
|
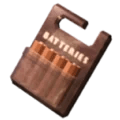
Battery Pack | Can store up to 4 batteries. | Randomly spawns in The Mines or bought from Jeff's Shop. |
|
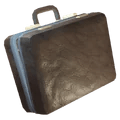
Briefcase | Lets you store up to 3 items, with some exceptions (e.g. Disc, Leftovers, and another Briefcase). | Found at room Z-50 in The Archives. |
|
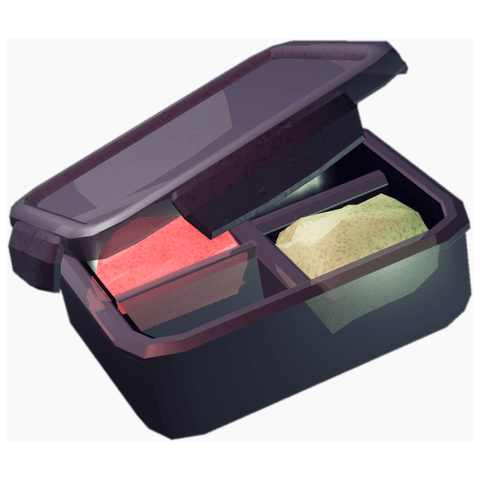
Leftovers | Can store up to 4 food items. | Can be found in The Archives. |
|
Currency Items
Item | Description | How to Get | Image |
|---|---|---|---|
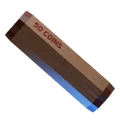
Coin Roll | Grants 50 gold on use. | Can be bought at the Pre-Run Shop or found all throughout The Archives. |
|
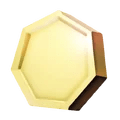
Gold | Mainly used to buy from varying shops, among other miscellaneous things. | Found all around the map in most floors or earned in exchange for grinding and/or trading scrap.. |
|
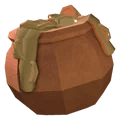
Honey Pot | Grants 500 gold, but this money is only usable during Ransom's attack. | Spawns somewhere in the next room after a Ransom attack starts. |
|
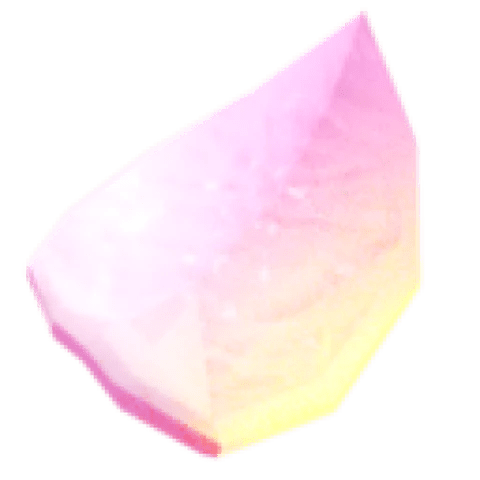
Lotus Petal | Does nothing on its own. Bring 8 of these to Grampy in The Outdoors to get a Lotus. | Found all throughout The Outdoors. |
|
Salvage Scrap | Used for trading with the Cobbler at The Stairwell. | Made by scraping items at a depot. |
|
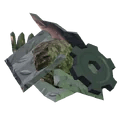
Items that Generate Salvage Scrap
These are items that you can grind in The Stairwell's depots for Salvage Scrap. They serve no other purpose, with the exception of the Damaged Hat.
The Damaged Hat can be used to get the rare Emancipation Customization badge. More information in our guide on how to get all of the badges in DOORS.
Item | Scrap Generated | Image |
|---|---|---|
Jerry Can | 2 |
|
Large Screw | 2 |
|
Pack of Gween Soda | 2 |
|
Crate of Bottles | 3 |
|
Lamp | 3 |
|
Broken Monitor | 4 |
|
Damaged Hat | 5 |
|


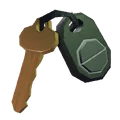
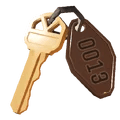
All Keys
Item | Description | How to Get | Image |
|---|---|---|---|
Backdoor Key | Used to open the way forward in The Backdoor. | Found in the same room as a locked door in The Backdoor. |
|
Electrical Room Key | Used to open the Electrical Room. | Can always be found just before the room that needs it. |
|
Garage Key | Opens garage doors in The Stairwell's depot areas. | Randomly found in The Stairwell or bought from the Pre-Run Shop. |
|
Hotel Key | Can be used to unlock the next door in The Hotel. | Found in a random spot within the room once you encounter a locked door. |
|
Iron Key | Opens locked crypts in The Outdoors. | Found randomly throughout The Outdoors. |
|
Jewelry Key | Unlocks certain containers in The Estate. | Found all throughout The Estate. |
|
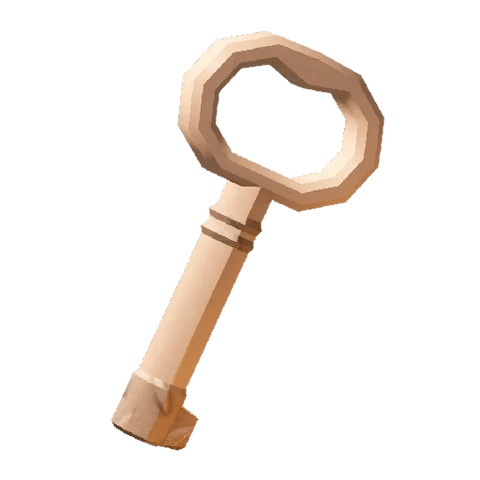
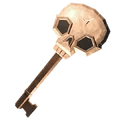
Skeleton Key | Used to unlock doors or containers that have skulls on them. | Low chance to be found randomly in containers or on other surfaces. Can also be bought from Jeff's Shop. |
|

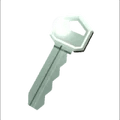

Puzzle Items/Essentials
Item | Description | How to Get | Image |
|---|---|---|---|
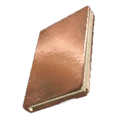
Book | Contains part of the solution in The Library's puzzle. | Found all around The Library. |
|
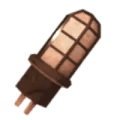
Breaker Pole | Required to do the Circuit Breaker minigame at Door 100. | Found all around Door 100. |
|
Fuse | Used to turn on the generators in The Mines. | Can be found around The Mines. |
|
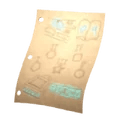
Paper | Contains instructions on how to complete The Library's puzzle. | Found on an office desk in The Library. |
|
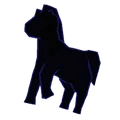
Sally's Toy | Protects you from damage against Sally. | Found in the samne room where Sally spawns in. |
|
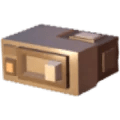
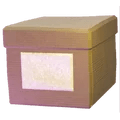
Storage Box | Part of the Mail Room challenge in The Archives. | Found all around the Mail Room of The Archives. |
|
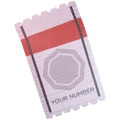
Ticket | Shows your ticket number for the Teller entity. | Given to you upon encountering the Teller in The Archives. |
|
Miscellaneous Items
Item | Description | How to Get | Image |
|---|---|---|---|
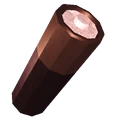
Battery | Used to recharge light sources that need it. | Found randomly throughout most floors. |
|
Buddy | A cosmetic item that you can carry around with you. It has varying forms and unique animations for each. | More info in our guide on how to get buddies in DOORS. | N/A |
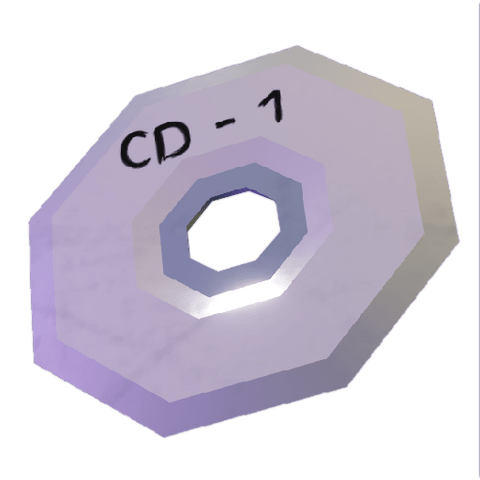
Disc | Can be used to spawn Hijack in The Stairwell. | Found at Door S-50 in The Archives. |
|
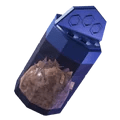
Fih Flakes | Used to feed the harmless Fih entity in The Archives. | Found in the same room if there are Fih around. |
|
Glitch Fragment | Used to force Glitch to spawn. | Very rarely spawns on any floor. |
|
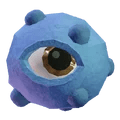
Stem | Technically an entity. It attacks the player and can be broken by throwing it repeatedly. | Randomly spawns in containers throughout The Stairwell. |
|
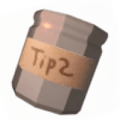
Tip Jar | Can be used to create a Rift Jar. | Found in Mid-Run Rift rooms or from Louie. |
|
Pick an answer, then tell us anything we missed or could do better.
- No
- Sort of
- Yes